[vc_row][vc_column][vc_column_text]
 Introduction: In the realm of digital design and photo editing, Photoshop reigns supreme as the go-to tool for professionals and hobbyists alike. Among its vast array of features, the Clipping Masks stands out as a powerful technique for creating stunning visuals with precision and finesse. Whether you’re a seasoned Photoshop user or just starting out, mastering the art of clipping masks can elevate your projects to new heights. In this comprehensive guide, we’ll delve into what clipping masks are, how they work, and how you can use them to enhance your designs.
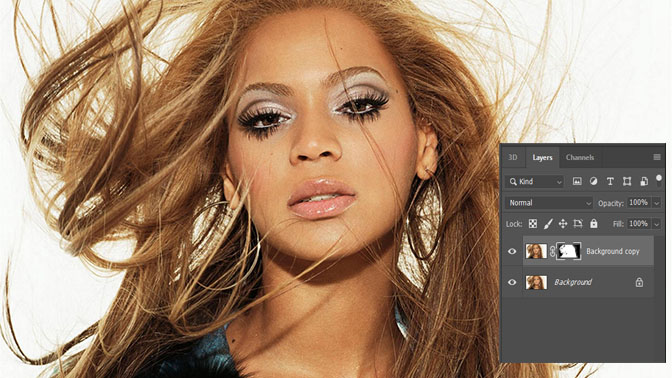
Understanding Clipping Masks: At its core, a clipping mask is a non-destructive editing technique that allows you to control the visibility of one layer based on the content of another layer beneath it. Think of it as a stencil – the content of the top layer is revealed only where it overlaps with the content of the bottom layer. This provides endless possibilities for creating intricate designs, applying textures, and blending images seamlessly. Creating a Clipping Mask: To create a clipping mask in Photoshop, follow these simple steps:
- Start by opening the two layers you want to work with – the base layer and the layer you want to mask.
- Position the layer you want to mask directly above the base layer in the layer stack.
- Right-click on the layer you want to mask and select “Create Clipping Mask” from the dropdown menu.
- Voila! The top layer is now clipped to the layer below it, and only the areas where the two layers intersect are visible.
- Gradient Masks: Apply a gradient to the mask layer to create smooth transitions between visible and hidden areas.
- Texturizing: Use clipping masks to apply textures or patterns to specific elements of your design, adding depth and dimension.
- Adjustment Layers: Clip adjustment layers to specific layers to apply targeted color corrections, brightness adjustments, and more.
- Layer Effects: Apply layer effects such as drop shadows, strokes, and glows to clipped layers for added visual impact.
- Experiment Freely: Don’t be afraid to try out different combinations of layers and masks to achieve the desired effect.
- Stay Organized: Label your layers and group them logically to keep your workflow efficient and manageable.
- Practice Patience: Clipping masks can be finicky at times, especially with complex compositions. Take your time and refine your masks until they look just right.
- Learn from Others: Study tutorials, watch videos, and explore online resources to discover new techniques and approaches to using clipping masks.
[/vc_column_text][/vc_column][/vc_row]